How did I not know about Vercel earlier . . .
# Contents
• Backstory
• Pricing
• Easy Setup
• Templates
• Free SSL Certificate
• Simple CI/CD
• Staging and Production
Environments
• Web Analytics
• Logs
• Storage Options
• Wrap Up
# Backstory

I know I'm a bit late to the Vercel party! Vercel is already huge and mainstream, but I only came across it recently, and I'm genuinely super excited about it! Hopefully, this blog post can help someone out there who's seeking a new web hosting solution.
In the past, I hosted my website on Heroku's free-tier plan. Back then, it was basically a
'hello world' Create React App with my name slapped on it. However, things changed when
Salesforce acquired Heroku and shortly afterward decided to discontinue the free-tier plan.
From there, my website ended up in a bit of a digital limbo.
I had grand plans to migrate to AWS, but I felt somewhat daunted by the complexity and the sheer time commitment required left me hesitating. I also questioned whether migrating to AWS was too overkill for a personal website with little-to-none traffic haha.
Fast forward, I finally discovered Vercel and experienced its numerous advantages and wonders compared to my previous experiences with Heroku. The setup process was a breeze, taking less than 10 minutes to get the essentials + more up and running.
More details on my experiences and the set of features Vercel offers below.
# Pricing

First and foremost, let's start off with the pricing! I'm all about a free-tier when it comes to software development, because coding is already challenging enough, and no one needs more reasons holding you back from giving-it-a-crack. And Vercel's FREE-TIER is SUPER bang-for-your-buck! (buck being $0). I'll discuss what Vercel's free-tier is offering in this blog post.
If you're interested, you can find Vercel's full breakdown of their plans here.
# Easy Setup
The setup process is super straightforward, so instead of going into detail, I'll just illustrate it with the below bullet-points.
Time Required: 10 mins

While logged into Vercel:
-> 1. Add Project
-> 2. Choose Template
-> 3. Connect GitHub
-> 4. Deploy
-> 5. Celebrate
# Templates
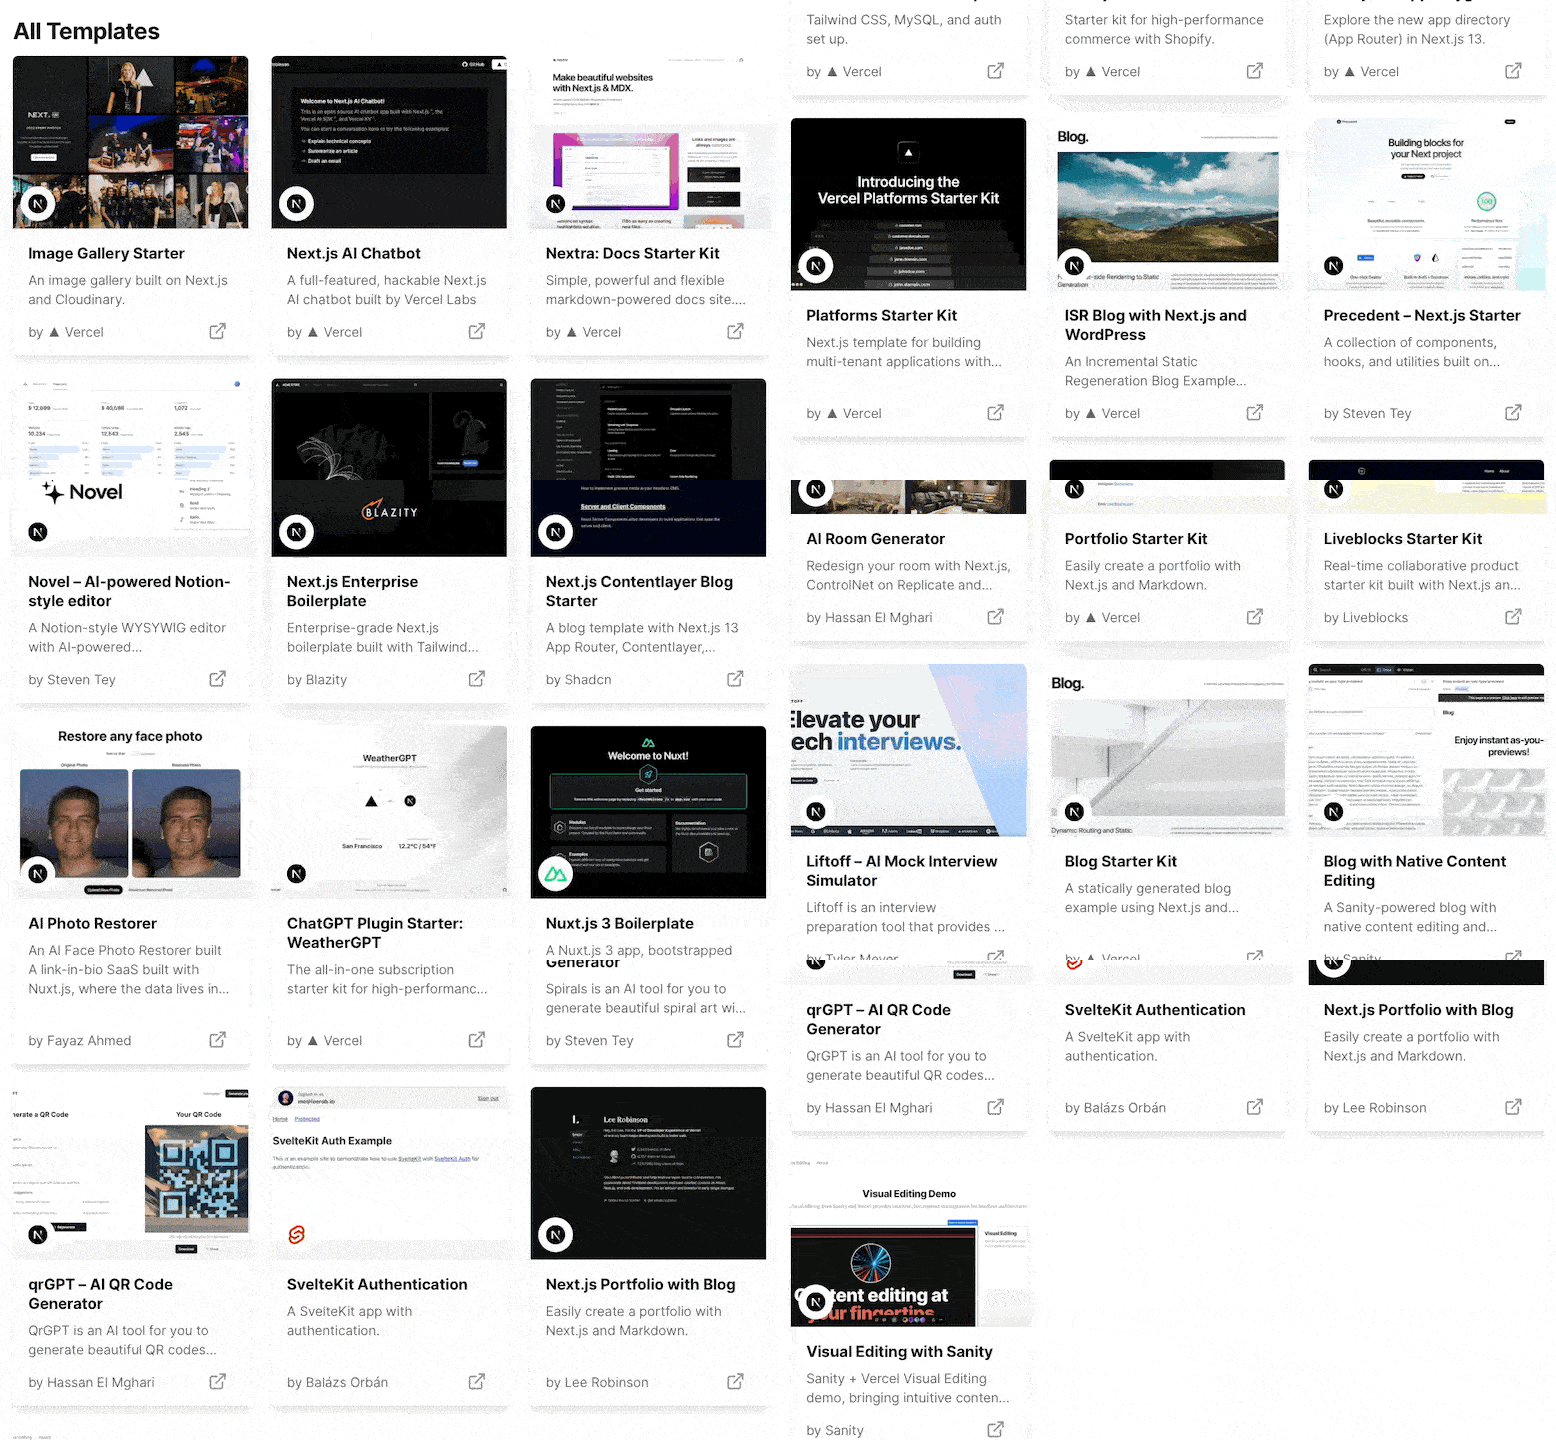
Instead of searching for web templates on your own or creating your own template
and then pushing it into your source control system, Vercel simplifies and
streamlines this entire process. It allows you to connect your source
control system to Vercel and choose a high-quality web template during the
setup process. Afterwards, Vercel will create the repository for you and push
the chosen template as the initial commit.
Vercel offers a wide variety of templates to choose from to suit different use cases, such as a product-page, blog, or gallery website, among others. You can find the full list of currently available templates here. These are just the templates available now, and the catalog is sure to grow in the future.
Another note: the templates offered here aren't simple 'get-started' level templates. They are feature-packed
and comprehensive, far beyond your basic templates like the 'hello world' template from Create React App that
I used in the past. For instance, some templates are pre-configured for authentication or database integration,
so all you need to do is plug in a few provider details, and you're ready to go.
# Free SSL Certificate
It's all about the Padlock! 🔒
These days, it's common to regard any website
lacking the padlock icon as potentially suspicious. The padlock icon serves as
an indicator that the website is secured with an SSL Certificate, ensuring that
traffic exchanged between your browser and the website is transmitted securely
through encryption. Of course, having SSL doesn't guarantee a website's
legitimacy, but it often acts as our first line of defense on the web.
Both Vercel and Heroku offer free SSL for apps served on each company's respective domain name:
• For Vercel: https://<app-name>.vercel.app
• For Heroku: https://<app-name>.herokuapp.com
But let's face it, most people want their own custom domain name and SSL-enabled status, and this is where Vercel shines on top.
With Vercel, it's as simple as linking your custom domain, and Vercel automatically handles the rest by generating a FREE SSL certificate and applying it to your app server.
On the other hand, with Heroku, linking your custom domain is just the beginning of a more complex process.
First, you need to purchase an SSL certificate from your domain name provider; most providers charge upwards
of $12 per year (I used Namecheap as my domain name provider). Next, you must set up that SSL certificate with
your domain name provider (in my case, Namecheap) and configure some settings in Heroku. This can be confusing
for the average person and even for developers who take security for granted, like myself 😂. During this step,
you'll encounter technical jargon such as CSR, DCV, CNAME, Host, Target, Public Cert, Private Key
and more. Most people simply want their website to have a padlock icon status 🔒, and dealing with all of this
can be very frustrating and challenging, to be honest.
To make matters worse, with Heroku, you still need to modify your website source code to perform an HTTPS redirect;
otherwise, your website will remain accessible via the HTTP protocol. In contrast, Vercel automatically handles
this at the network-level, requiring no changes to your codebase.
# Simple CI/CD
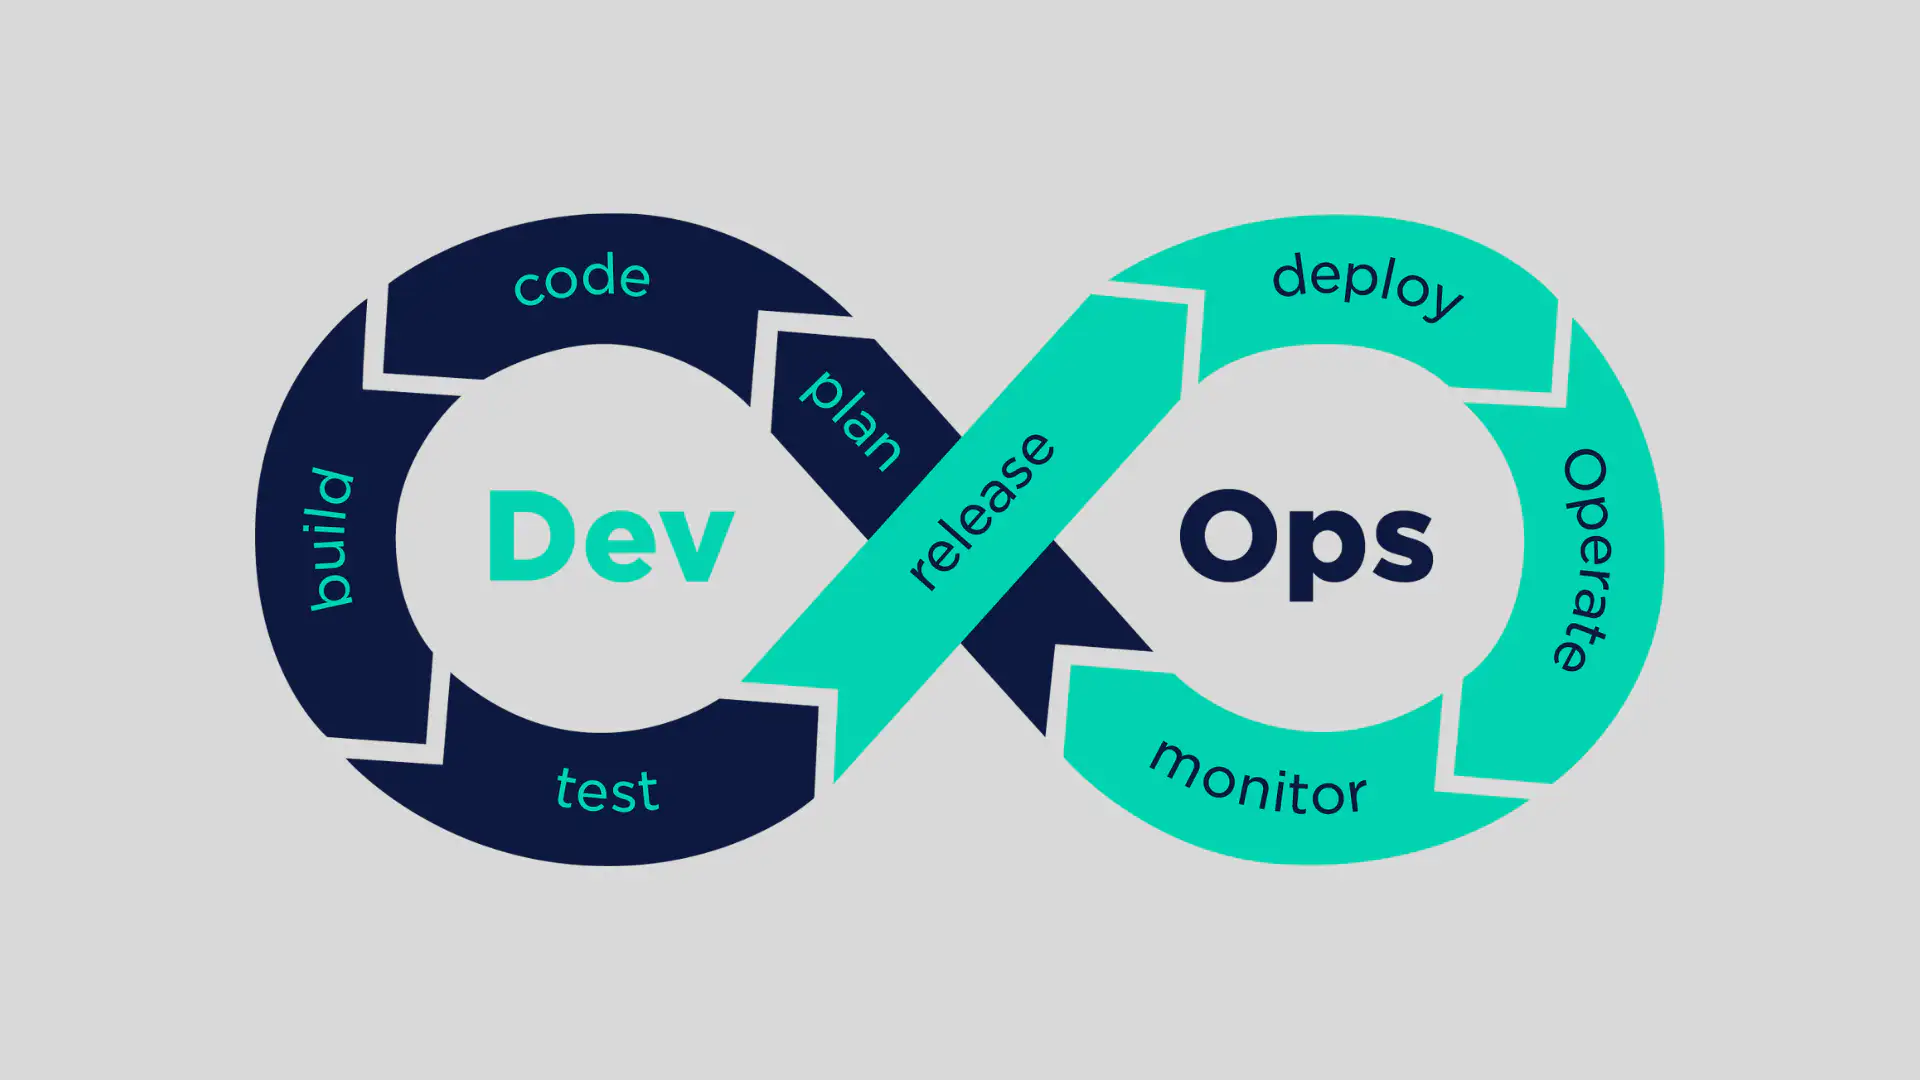
It's pretty much the norm to use Continuous Integration and Continuous Deployment (CI/CD) tools as part of the software development process at a company, for example, Jenkins. This is because it helps save time and reduce human errors when building and deploying applications by automating the process.
I've always wanted to have a similar process for my personal projects, but once again, there's a level of intimidation when setting up CI/CD infrastructure and pipelines from scratch. And once again, Vercel saves the day by setting this up and providing you with all this for free.
The way it works in Vercel's implementation is through a 'Push to Deploy' process. This means that when you
push your code changes to your remote repository (in my case, GitHub), this event triggers a build and deploy
pipeline to deploy your app. Furthermore, you still have the other usual features like build/deploy logs,
promoting builds, rolling back deployments, health checks etc.
# Staging and Production Environments
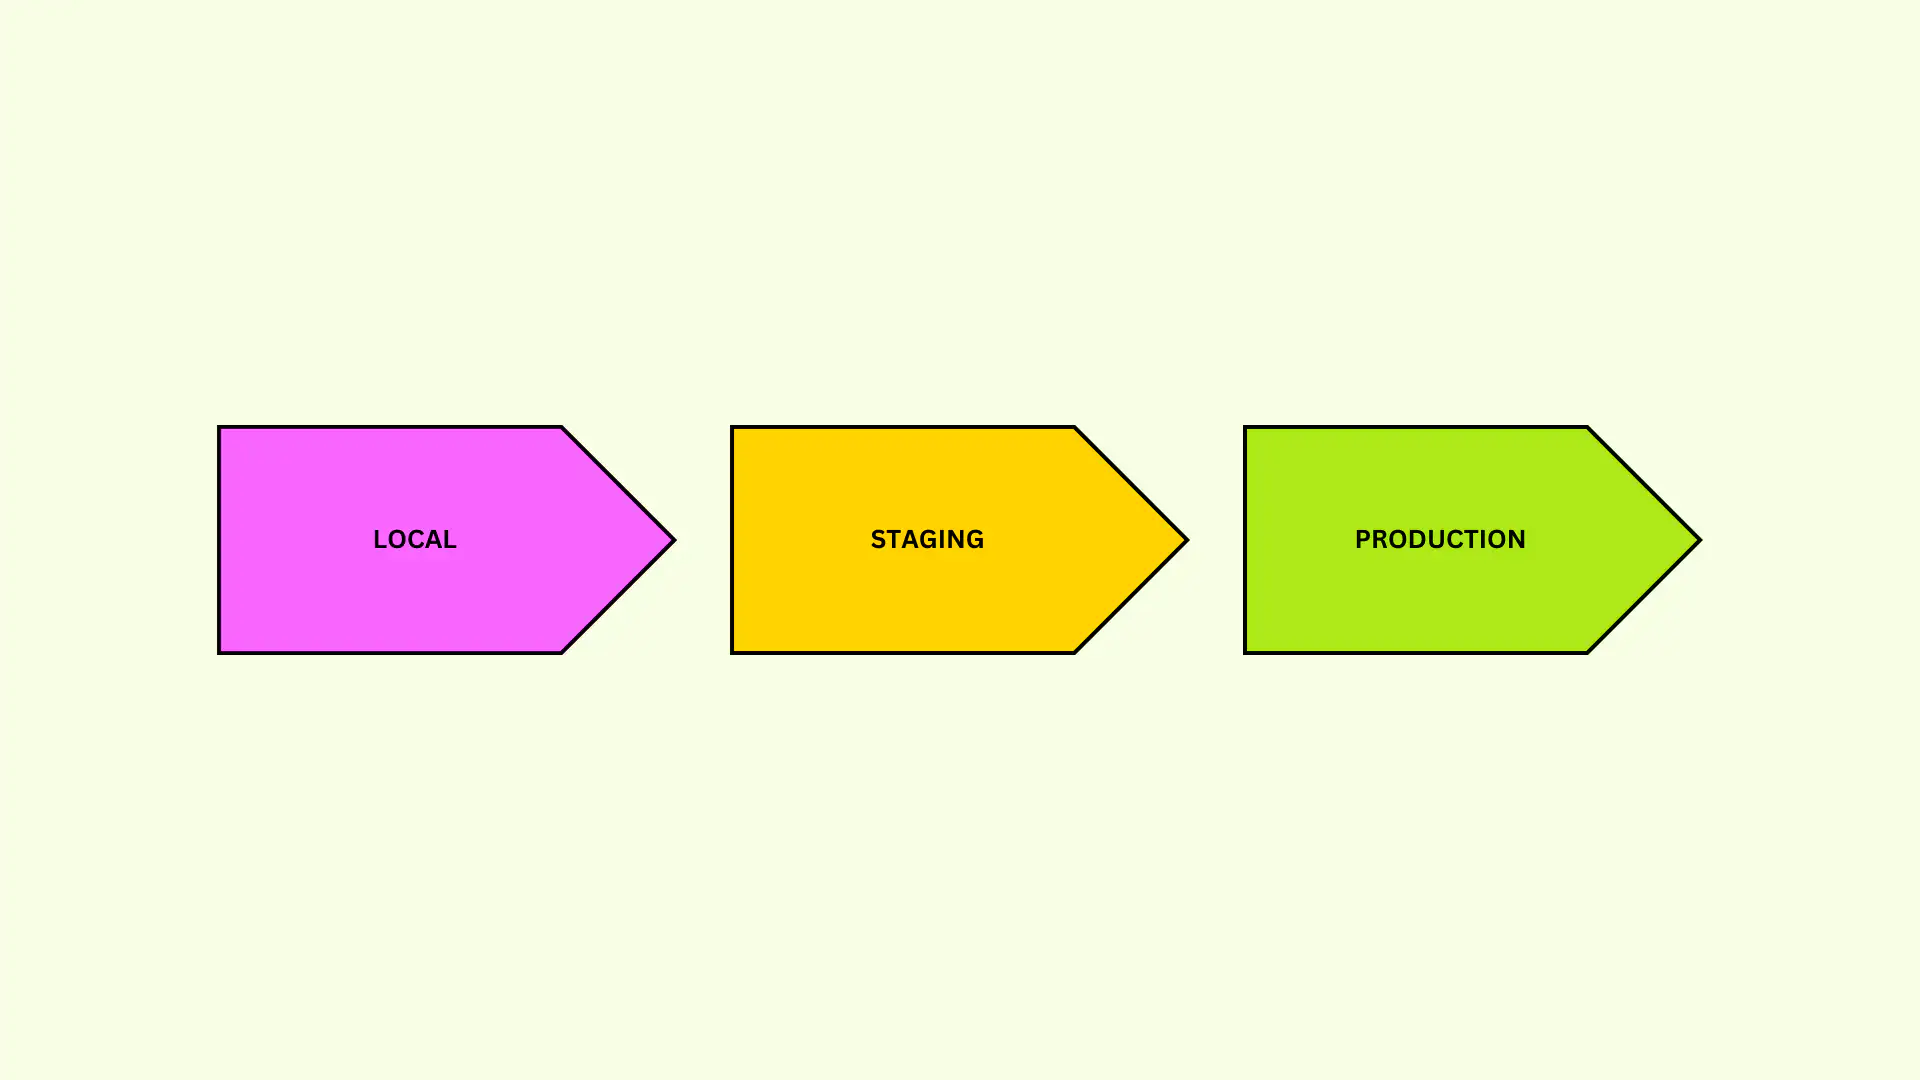
Another common process at an organisation is to have multiple environments for testing application code at different phases of the development lifecycle. A typical organisation would have four environments for code testing, namely:
• Local: This environment runs on the developer's computer
• Development: This environment is used to test early changes
• Staging: This environment is used to test more mature changes
• Production: This environment represents the final product
In the Vercel world, they provide you with one Production environment and one environment called Preview.
The Preview environment is intended to be used more as a Staging environment, but there's nothing stopping
you from using it as both a Development and Staging environment.
The process to trigger a deployment in either environment is very simple as well; essentially, all merges into:
• Main Branch: triggers a Production deployment
• Feature Branch: triggers a Preview deployment
# Web Analytics

Have you ever wanted to check analytical statistics on your website? Such as checking how many unique visitors you have, how many page views you receive, which pages are being viewed, the country, device, and browser of your visitors. Well good news, you can do all of that and more for free in just 2 minutes and with only 2 lines of code. The official Vercel documentation shows you what to do here.
# Logs
Vercel also allows you to easily view and query your application logs as
needed, which is very useful for triaging any issues your application may be
experiencing. Fingers crossed 🤞🏻 you won't need to go in here very often, and
everything is smooth sailing ⛵️.
# Storage Options

Vercel also offers free storage options for each project you deploy. The storage
options on offer are free to use but have a monthly quota limit on the free tier.
Currently, the available storage options are KV, Edge Config, Postgres (beta),
and Blob (beta). Personally, I haven't used any of these yet because my website
is super basic at the moment, but it's definitely good to know (I'm planning ahead).
Random Fact: Currently, I'm writing this blog directly in source code; it just feels easier to manage for the time being, and text/images are fairly lightweight. However, if the site's speed becomes a bottleneck in the future, I'll be sure to make the switch and make use of these free Vercel storage features.
Another note: If you don't want to use any of Vercel's storage options, Vercel still offers a wide range of integrations with other third-party storage offerings. The full list of storage integrations can be found here.
# Wrap Up
There are many reasons why Vercel is simply amazing to use! There's so much on offer for FREE (I've mentioned 'free' too many times in this blog post...). What's mentioned above is just what stood out to me and made a big impression. I'm sure there are a tonne of other things that I failed to mention that also makes Vercel awesome.
But yeah, if you've stuck around this long, shoutouts and thanks for reading my first ever semi-technical blog post!
Ben Diep
Software Engineer